Physical Address
304 North Cardinal St.
Dorchester Center, MA 02124
Physical Address
304 North Cardinal St.
Dorchester Center, MA 02124

If your oven won’t reach temperature, you’re not alone. This is one of the most common appliance complaints homeowners face, and it can turn a simple dinner into a frustrating experience. Whether your oven stops heating at 250 degrees, takes forever to preheat, or simply never gets hot enough, the causes usually fall into a few predictable categories.
An oven that can’t reach temperature is typically caused by a faulty heating element, defective igniter (in gas ovens), misaligned temperature sensor, or calibration issues. Understanding which component is failing can save you hundreds in unnecessary repair costs or help you decide when replacement makes more sense than fixing an aging unit.
Our team has researched thousands of real user experiences from appliance repair forums, consulted manufacturer troubleshooting guides, and compiled this comprehensive guide to help you diagnose and fix your oven temperature problems. In this guide, you’ll learn how to test each component, what repairs you can handle yourself, and when it’s time to call a professional technician.
Before diving into repairs, confirm that your oven actually has a temperature problem. Many home cooks blame their oven when the real issue is recipe timing or incorrect temperature settings.
Watch for these clear indicators that your oven isn’t reaching the set temperature:
One pattern we see repeatedly in appliance repair forums involves electric ovens that stall at exactly 235-250 degrees Fahrenheit. As one homeowner reported, their oven “set to 350F only reaches 235F and stays there.” This specific symptom usually points to a failing bake element or temperature sensor issue.
Never trust your oven’s built-in display alone. Oven thermostats can be off by 25-50 degrees even when working correctly, and a faulty sensor can show a completely different temperature than what’s actually inside.
To verify your oven’s actual temperature, use a reliable oven-safe thermometer placed in the center of the middle rack. We recommend using a reliable oven-safe thermometer for accurate readings.
Preheat your oven to 350 degrees Fahrenheit and wait for the preheat indicator light or beep. Place the thermometer in the center of the oven without opening the door excessively. Wait 10 minutes after the preheat signal, then check the thermometer through the oven window if possible.
Record the actual temperature shown on your thermometer. Repeat this test three times and average the results. If your oven consistently reads more than 25 degrees off from the set temperature, you have a problem requiring attention. For context, you can use our temperature conversion guide if your thermometer uses Celsius.
Manufacturers typically allow for a variance of plus or minus 25 degrees Fahrenheit from the set temperature. However, many home cooks find that even a 15-degree difference affects baking results, particularly for delicate items like souffles or macarons.
If your oven runs consistently 10-25 degrees hot or cold, calibration may solve the issue. If the variance exceeds 25 degrees or fluctuates wildly, you likely have a component failure requiring replacement.
Electric ovens rely on heating elements to generate heat, along with sensors and control boards to regulate temperature. When any of these components fails, your oven can’t reach the desired temperature.
The heating elements are the most common failure point in electric ovens. Most units have two elements: a bake element at the bottom and a broil element at the top. Either can fail independently.
Signs of a bad heating element include visible damage such as cracks, blisters, or burned spots. A completely broken element may have a visible gap or break. Sometimes the element looks fine but has internal damage you cannot see.
To test an element with a multimeter, first unplug the oven or turn off the circuit breaker. Remove the element’s mounting screws and carefully pull it forward to access the wires. Disconnect the wires and set your multimeter to the ohms setting. Touch the probes to the element’s terminals. A good element typically shows 15-50 ohms of resistance. Infinite resistance means the element is broken internally and needs replacement.
Many users in repair forums report that their oven stopped reaching temperature after years of normal operation. One common story involves the bake element failing while the broil element still works, resulting in an oven that can broil but cannot bake properly.
The temperature sensor (also called an oven sensor or thermostat sensor) monitors the internal temperature and signals the control board to cycle the heating element on and off. When this sensor fails or reads incorrectly, your oven cannot maintain accurate temperature.
The sensor is usually located at the back of the oven interior, protruding from the back wall. It resembles a thin metal rod about 3-4 inches long. First, visually inspect that the sensor is not touching the oven wall, as this contact causes inaccurate readings by picking up wall heat rather than air temperature.
To test the sensor, remove it from the oven and use a multimeter set to ohms. At room temperature (70 degrees Fahrenheit), a good sensor typically reads between 1000-1100 ohms. Check your manufacturer’s specifications for exact values, as they vary by brand.
We frequently see reports in appliance forums where simply repositioning a sensor that was touching the oven wall solved temperature accuracy problems. This quick fix costs nothing and takes only minutes to attempt.
The thermal fuse is a safety device that cuts power to the heating elements if the oven overheats. Once blown, the fuse must be replaced for the oven to heat again.
A pattern we’ve observed in repair discussions involves ovens that stop reaching temperature immediately after running a self-cleaning cycle. The extreme heat generated during self-clean often blows the thermal fuse. If your oven worked fine before self-clean but fails afterward, suspect a blown thermal fuse.
Testing a thermal fuse requires a multimeter set to continuity. Remove the fuse and test across its terminals. A good fuse shows continuity (zero resistance). No continuity means the fuse has blown and requires replacement.
The control board (also called the electronic oven control or ERC) manages all oven functions, including temperature regulation. When the board fails, the oven may not heat at all, heat intermittently, or fail to reach temperature.
Signs of control board failure include unresponsive buttons, error codes on the display, or the oven behaving erratically. Sometimes only specific functions fail while others work normally.
Relay switches on the control board can also fail. These switches physically connect power to the heating elements when the board signals them to activate. A burned relay won’t send power to the element even if everything else works correctly.
Control board diagnosis typically requires professional assessment, as the issues often involve complex electrical testing beyond basic multimeter checks.
Gas ovens use a different heating mechanism than electric models. Instead of electric coils, they burn natural gas or propane to generate heat. This requires additional components like igniters and gas valves that can fail and prevent proper heating.
The igniter is the most common failure point in gas ovens. This component glows white-hot to ignite the gas flowing from the burner. A weak igniter may glow but not get hot enough to ignite gas, or it may take several minutes longer than normal to light the burner.
When working correctly, the igniter should glow bright white within 30-60 seconds of turning on the oven. The gas should ignite within 30 seconds of the igniter reaching full temperature. If the igniter glows orange or red instead of white, or if gas ignition takes longer than 90 seconds, the igniter is weak and needs replacement.
Professional technicians test igniters by measuring their amp draw with a clamp meter. Most gas oven igniters need to draw 3.2-3.6 amps to open the gas valve properly. A weak igniter drawing less than 3.0 amps may glow but fail to ignite gas consistently.
Forum discussions frequently mention gas ovens where the igniter clicks and glows orange but the burner never lights. This almost always indicates a weak igniter that needs replacement.
If the igniter works properly but the burner still doesn’t light, the problem may involve gas supply or the safety valve. First, verify that other gas appliances in your home work correctly to rule out a household gas supply issue.
The safety valve only opens when it receives sufficient electrical current from the igniter circuit. If the valve fails, gas cannot reach the burner even with a working igniter. Testing the valve requires measuring voltage and gas pressure, which typically requires professional service.
Never attempt to bypass safety valves or modify gas lines yourself. Gas leaks pose serious explosion and fire hazards. If you smell gas at any point during troubleshooting, immediately shut off the gas supply at the wall valve, ventilate the area, and call your gas company.
Like electric ovens, gas ovens rely on temperature sensors to regulate heat. The same testing procedures apply: check for physical contact with oven walls, test resistance with a multimeter, and replace if readings are out of specification.
Older gas ovens may use a mechanical thermostat rather than an electronic sensor. These can become miscalibrated over time. Some mechanical thermostats have an adjustment screw, but calibration typically requires professional service.
Several problems can affect any oven regardless of heating type. These universal issues are often easier to diagnose and fix than component-specific failures.
The door gasket creates a seal that keeps heat inside the oven cavity. A worn, torn, or improperly seated gasket allows heat to escape, making it impossible for the oven to reach or maintain temperature.
Inspect the gasket around the entire door perimeter. Look for tears, gaps, hardening, or areas where the gasket has come loose from its channel. Even small gaps can significantly impact heating performance.
Replacing a door gasket is usually a simple DIY repair. Most gaskets simply push into a groove around the door or oven frame. Purchase a replacement specific to your oven model for proper fit.
Even properly functioning ovens sometimes need calibration to match the set temperature accurately. Calibration tells the oven’s control system what sensor reading corresponds to the correct temperature.
Modern ovens with electronic controls typically allow user calibration through the control panel. Consult your owner’s manual for specific button sequences, as they vary by brand. Most allow adjustment in 5-degree increments, up or down 35 degrees maximum.
To calibrate properly, first run the temperature test described earlier with a reliable thermometer. If your oven consistently runs 25 degrees hot, adjust the calibration down by 25 degrees. Test again after calibration to verify accuracy.
If your oven was accurate previously but now runs consistently off-temperature without other symptoms, recalibration may restore proper function without any parts replacement.
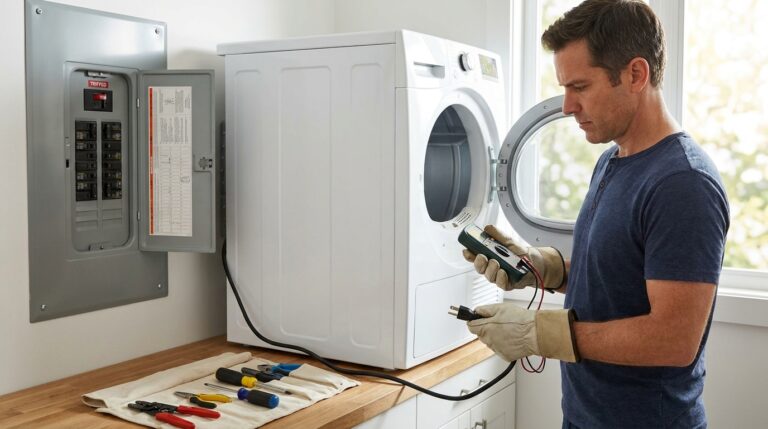
Electric ovens require 240-volt power supplied through a double-pole circuit breaker. If one leg of the circuit fails, the oven may still have partial function (lights, clock, some controls) but cannot generate full heat.
Check your home’s electrical panel for tripped breakers. A 240V oven uses a double breaker, usually marked with 30, 40, or 50 amps. If one side trips, the oven may appear to work but won’t heat properly.
Reset any tripped breakers by switching fully off, then back on. If the breaker trips again immediately, you have an electrical fault requiring professional attention. Never tape breakers in the on position or use oversized breakers, as this creates fire hazards.
Gas ovens also require electrical power for igniters, fans, and controls. A tripped breaker can cause complete failure or intermittent problems even though gas supply remains available.
Convection ovens add a circulating fan to distribute heat more evenly. When this fan fails, the oven may still heat but cannot maintain consistent temperature throughout the cavity.
Signs of convection fan failure include longer preheat times, uneven baking results, or unusual noises during operation. The fan should run continuously during convection modes. If you don’t hear it operating, the motor or control circuit may have failed.
Some convection oven options also require temperature adjustment when switching between conventional and convection modes. Recipes typically specify reducing temperature by 25 degrees when using convection. If you forget this adjustment, food may cook too quickly or burn.
Regular cleaning helps prevent convection fan issues. Grease and food debris can accumulate on fan blades, causing imbalance and premature motor failure. Clean the fan area according to your manufacturer’s instructions during regular oven cleaning.
Understanding repair costs helps you decide whether to fix your oven or invest in a replacement. Parts costs vary widely, and labor adds significantly to professional repairs.
If you handle repairs yourself, you only pay for parts. Expect these approximate costs:
Professional service calls typically start with a diagnostic fee of $50-$100, often applied toward the repair cost if you proceed. Total repair costs with labor:
These estimates vary by region and brand. High-end brands like Viking, Wolf, or Thermador typically have higher parts costs and may require specialized technicians.
Most appliance technicians follow the 50% rule: if repair costs exceed half the price of a new comparable oven, replacement usually makes more sense. For a basic oven costing $600 new, spending $350 on a control board replacement may not be wise unless the oven has other premium features.
Consider replacement if your oven is over 10 years old, has required multiple recent repairs, or lacks features you now consider essential. Our double wall oven reviews can help if you’re considering an upgrade.
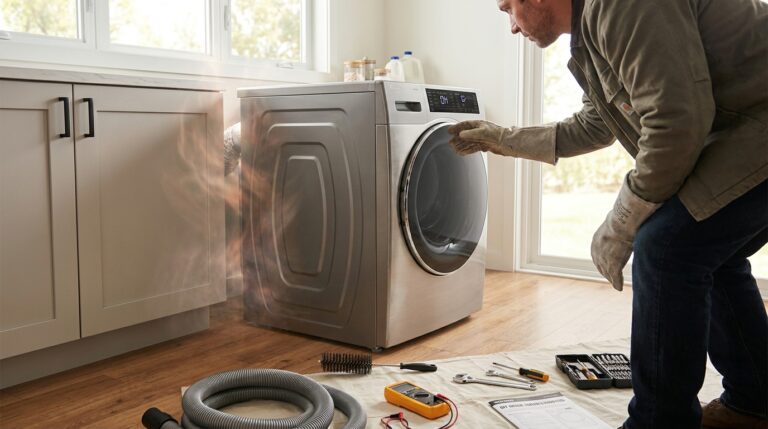
Many oven repairs are within the capability of handy homeowners. Others require specialized tools, knowledge, or involve safety hazards best left to professionals.
These repairs typically require only basic hand tools and minimal technical knowledge:
Always unplug the oven or turn off the circuit breaker before starting any repair. Even with power off, treat components as if they could be live until tested.
Contact a certified appliance technician for these situations:
Gas oven repairs involving the gas supply or valves should always be handled by professionals. The risk of gas leaks, fire, or carbon monoxide poisoning outweighs any cost savings from DIY attempts.
Before attempting any oven repair, disconnect power at the circuit breaker. For gas ovens, also shut off the gas supply at the wall valve. Use insulated tools when working near electrical components. Never work on an oven while standing in water or with wet hands.
If you smell gas at any point, stop immediately. Do not operate electrical switches or create sparks. Ventilate the area, leave the premises, and contact your gas utility emergency line from outside.
Wear safety glasses when working inside the oven cavity. Sharp metal edges and springs can cause injury. Support heavy components like doors when removing them for access.
Regular maintenance prevents many common oven problems and extends appliance lifespan. Simple habits can save you from future repairs.
Avoid overusing the self-cleaning cycle. While convenient, the extreme heat (often 800+ degrees Fahrenheit) stresses components and frequently causes thermal fuse failure. Use self-clean sparingly, and never run it right before hosting an important dinner where oven failure would be catastrophic.
Clean spills promptly before they bake onto surfaces. Accumulated grease can affect temperature sensors and cause uneven heating. Use appropriate cleaning products for your oven type, avoiding harsh chemicals that might damage coatings or sensors.
Check the door gasket quarterly for damage or looseness. A tight seal maintains efficiency and accurate temperature. Replace gaskets at the first sign of wear rather than waiting for complete failure.
Verify temperature accuracy annually using an oven thermometer. Early detection of calibration drift allows simple adjustment before problems affect cooking results. Consider professional calibration every few years for high-end ovens.
For gas ovens, keep the burner area clean. Food debris can clog burner ports, causing uneven flames and temperature problems. Never use aluminum foil to line the oven bottom in gas ovens, as this can block combustion air flow and create dangerous conditions.
An oven that won’t reach temperature is typically caused by a faulty heating element (electric), defective igniter (gas), misaligned temperature sensor, or calibration issues. Start by testing with an oven thermometer to confirm the actual temperature, then inspect the heating element or igniter for visible damage. The temperature sensor may need repositioning if it’s touching the oven wall.
Extended preheat times usually indicate a weak heating element, failing igniter, or poor door seal allowing heat escape. Electric ovens should preheat to 350F within 12-15 minutes. Gas ovens typically take 8-12 minutes. Times exceeding 20 minutes suggest a problem requiring attention. Check for door gasket damage and test heating component strength.
Watch for these warning signs: food taking significantly longer to cook, undercooked centers in baked goods, preheat times over 20 minutes, oven stopping at specific temperatures (commonly 235-250F), temperature fluctuation during cooking, one function working while another fails (broil vs bake), and visible damage to heating elements.
A blown thermal fuse typically causes complete heating failure. Test by removing the fuse and checking continuity with a multimeter. No continuity means the fuse has blown. Thermal fuses often fail after self-cleaning cycles due to extreme heat. Unlike circuit breakers, thermal fuses cannot be reset and must be replaced.
An electric oven that stops at exactly 235-250 degrees usually has a failing bake element. The element may have partially failed, providing some heat but not enough to reach higher temperatures. Test the element with a multimeter for proper resistance (15-50 ohms typically). Visible damage like cracks or blisters confirms failure even if partially working.
Yes, replacing an oven heating element is a safe DIY repair for most homeowners. Unplug the oven or turn off the circuit breaker. Remove the mounting screws, pull the element forward to access wires, disconnect them, and install the new element in reverse order. The repair typically takes 15-30 minutes and requires only a screwdriver and possibly pliers.
Professional oven repair typically costs $150-$400 for common issues like element or sensor replacement. Control board repairs run $300-$600. DIY parts cost significantly less: elements $20-$50, sensors $15-$40, igniters $20-$60. Service call diagnostic fees usually range $50-$100. If repair costs exceed 50% of a new oven’s price, replacement often makes better financial sense.
Manufacturers typically allow for plus or minus 25 degrees Fahrenheit variance from the set temperature. However, many home cooks find that even 15 degrees affects baking results. If your oven consistently runs 10-25 degrees off, try recalibrating through the control panel first. Variance exceeding 25 degrees or fluctuating temperatures usually indicate component failure.
An oven that won’t reach temperature disrupts meal preparation and wastes food, but most causes are diagnosable and repairable. Start with simple checks like verifying power supply, testing with an accurate thermometer, and inspecting heating elements or igniters for visible damage.
Many repairs, including heating element and sensor replacement, are safe DIY projects that cost under $50 in parts. Save professional service calls for gas line issues, control board failures, or complex electrical problems. Remember the 50% rule when deciding between repair and replacement.
Regular maintenance prevents many temperature issues before they start. Clean spills promptly, check door seals quarterly, avoid overusing self-clean cycles, and verify calibration annually. These habits extend your oven’s lifespan and ensure consistent cooking results for years to come.
If your troubleshooting reveals that repair costs outweigh the value of your current oven, explore our double wall oven reviews or gas range reviews to find a reliable replacement. For accurate temperature verification in any oven, invest in a quality oven thermometer to ensure your dishes come out perfectly cooked every time.