Physical Address
304 North Cardinal St.
Dorchester Center, MA 02124
Physical Address
304 North Cardinal St.
Dorchester Center, MA 02124

Your ductless AC works hard to keep you comfortable through every season, but without proper care, it can lose efficiency fast. This ductless AC maintenance guide covers everything you need to know to keep your mini split running smoothly for 15 to 20 years. I have spent months researching best practices from HVAC professionals and real homeowners to bring you the most practical advice available in 2026.
Regular maintenance prevents the musty smells and mold issues that plague many ductless systems. It also keeps your energy bills low by maintaining peak efficiency. According to industry data, well-maintained systems can save you up to 15% on cooling costs compared to neglected units.
Whether you just installed a DIY mini split installation or you have had your system for years, this guide will walk you through every task. We will cover what you can safely do yourself and when to call a professional. By the end, you will have a complete maintenance schedule tailored to your climate and usage.
Maintaining your ductless AC does not require professional help for most routine tasks. Homeowners can safely perform several key maintenance steps that keep systems running efficiently. These tasks fall into three frequency categories: monthly, seasonal, and annual.
Filter cleaning is the most important monthly task for any ductless system. Clogged filters restrict airflow and force your compressor to work harder. This simple 5-minute job prevents 80% of common mini split problems.
Wipe down the exterior casing with a damp microfiber cloth to remove dust accumulation. Dust on the outside can eventually get pulled into the internal components. Keep the area around your indoor unit clear of furniture, curtains, and other airflow obstructions.
Check your outdoor unit for visible debris like leaves, grass clippings, or snow buildup. Maintain at least 2 feet of clearance around the condenser unit on all sides. Trim back any vegetation that might block airflow through the coils.
Deep clean your filters at season changes using mild soap and warm water. Let them dry completely before reinstalling to prevent mold growth. Inspect the line-set insulation for damage from UV exposure or pests.
Clean the condensate drain line using a wet/dry vacuum to prevent clogs. Check the drain pan for standing water or bio-slime buildup. Straighten any bent fins on the outdoor condenser using a fin comb tool.
Once per year, remove the front panel and visually inspect the evaporator coils for dust buildup. Look for any signs of refrigerant line damage or oil stains indicating leaks. Check mounting hardware to ensure the unit remains securely attached to the wall.
Clean filters are the foundation of effective ductless AC maintenance. Most mini split systems have two types of filters that need regular attention. Understanding how to clean each properly prevents airflow problems and maintains indoor air quality.
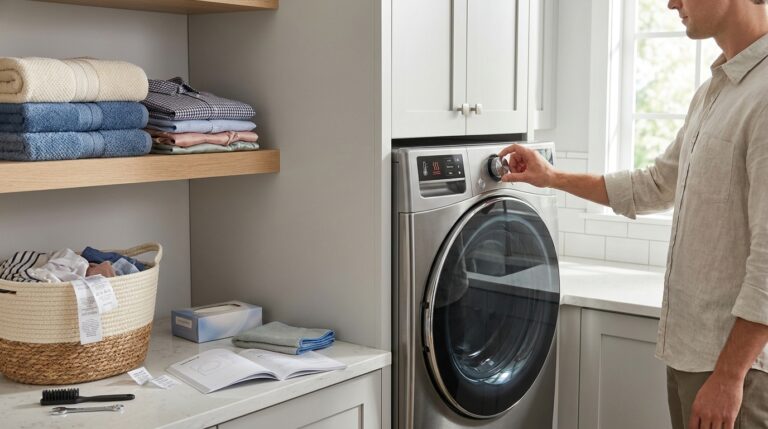
Turn off your mini split using the remote control or wall-mounted display. Locate the filter tabs on either side of the front panel. Gently lift or slide the panel open to reveal the filters inside.
Grasp the filter tabs and slide them out carefully. These mesh filters catch larger dust particles and pet hair. Most systems have two mesh filters side by side.
Behind the mesh filters, you will find specialized filters for air quality. These may be ion filters, activated carbon filters, or catechin filters depending on your model. Slide these out gently as they are often more delicate than mesh filters.
Vacuum the mesh filters using a brush attachment to remove loose dust. For deeper cleaning, rinse them under lukewarm water using a soft brush. Never use harsh chemicals or high-pressure water that could damage the mesh.
Air quality filters should never be washed unless specifically labeled as washable. Most need replacement every 12-24 months depending on usage. Check your manufacturer’s manual for specific replacement intervals.
Allow all washed filters to air dry completely on a towel. This usually takes 2-3 hours depending on humidity. Never reinstall damp filters as this promotes mold growth.
Slide the air quality filters back into place first, followed by the mesh filters. Close the front panel until it clicks securely. Turn the unit back on and verify normal operation.
While filter cleaning keeps the inside of your system clean, the coils handle the actual heat exchange. Dirty coils reduce efficiency and can eventually cause compressor failure. These components require careful but regular attention.
The evaporator coil inside your wall unit gets cold to remove heat from your room. Dust accumulation on these coils acts like insulation, reducing cooling capacity. Accessing these coils safely requires some disassembly.
After removing filters, you can see the coil fins behind them. Use a soft brush or compressed air to remove surface dust. Never use stiff brushes or scrapers that could bend the delicate aluminum fins.
For deeper cleaning, HVAC technicians use foaming cleaner that breaks down buildup without rinsing. Homeowners should avoid chemical cleaners unless specifically designed for mini split coils. When in doubt, call a professional for deep coil cleaning.
The blower wheel sits behind the evaporator coil and circulates air throughout your room. This component commonly harbors mold and bacteria causing musty smells. Unfortunately, blower wheel access requires significant disassembly on most units.
Removing the blower wheel typically requires unscrewing multiple panels and disconnecting wiring. This task is best left to professionals unless you are very comfortable with appliance repair. Professional deep cleaning services specifically target the blower wheel for this reason.
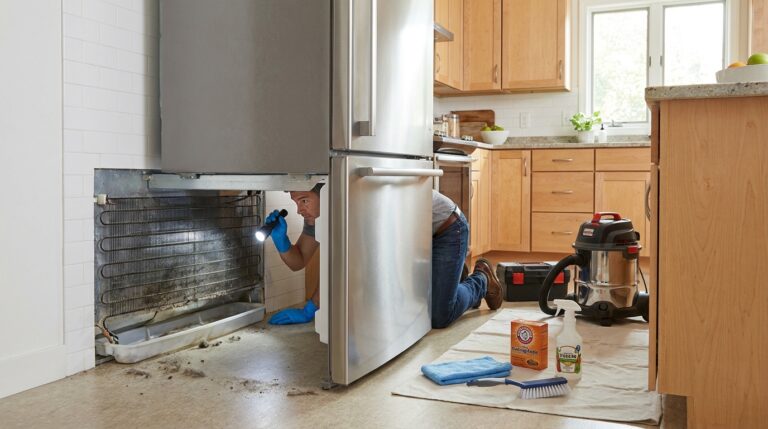
Your outdoor unit faces the elements year-round and needs regular attention. Start by shutting off power at the disconnect box for safety. Remove the top panel or side panels depending on your unit design.
Use a garden hose with a gentle spray to rinse debris from the condenser coils. Spray from the inside out to push dirt outward rather than deeper into the fins. Never use pressure washers that could damage the delicate fins.
Check the condenser fan blades for damage or excessive dirt buildup. Look for any signs of oil staining on the refrigerant lines indicating leaks. Clear debris from the unit base to ensure proper drainage.
Some maintenance tasks require professional expertise and specialized equipment. Understanding what professionals charge and what services they provide helps you budget appropriately. This section breaks down costs and helps you decide when DIY reaches its limits.
Filter cleaning, exterior wiping, and basic visual inspection are safe DIY tasks any homeowner can handle. Coil cleaning with foaming agents, refrigerant leak detection, and electrical connection inspection require professional training. Attempting complex repairs yourself can void warranties and create safety hazards.
Deep cleaning services that include blower wheel removal cost between $150 and $500 depending on your location and number of indoor units. Simple maintenance visits range from $100 to $200 per indoor unit. Multi-zone systems with four or more heads can cost $600+ for comprehensive service.
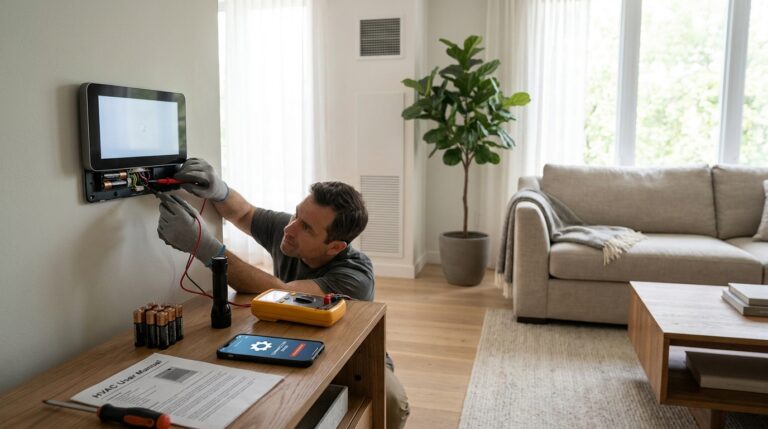
A professional mini split service visit typically covers 10-15 inspection points. Technicians check refrigerant charge levels using manifold gauges. They measure temperature differential across the coils to verify proper heat exchange.
Electrical connections get tightened and tested for proper voltage. Condensate pumps and drain lines receive thorough cleaning and flow testing. Technicians also inspect line-set insulation and replace damaged sections.
Most service agreements include priority scheduling and discounts on repairs. Annual professional service catches small problems before they become expensive failures. The cost of prevention is always lower than emergency repairs.
Your maintenance needs change with the seasons. This checklist organizes tasks by timing to keep your system prepared year-round. Following this schedule prevents the emergency calls that always seem to happen during extreme weather.
Deep clean all filters before the first hot day arrives. Remove the outdoor unit cover if you use one during winter. Clear vegetation and debris from around the condenser unit.
Test cooling mode early before you actually need it. This gives time to address any issues before peak demand. Schedule professional maintenance in spring to beat the summer rush.
Repeat the deep filter cleaning process as you transition to heating. Inspect the outdoor unit for any damage from summer storms. Check the defrost drain if your system runs in cold weather.
Test heating mode before temperatures drop significantly. Heat pumps work harder in cold weather, so pre-season inspection prevents mid-winter failures. Consider a professional inspection for systems over 5 years old.
Monthly tasks include filter cleaning, exterior wiping, and visual inspection. Seasonal tasks include deep filter cleaning, drain line clearing, and coil surface cleaning. Annual professional service handles blower wheels, refrigerant checks, and electrical testing.
Homes with pets or high dust levels may need more frequent filter attention. Systems in humid climates require extra attention to drain lines and mold prevention. Heavy heating season use may increase maintenance needs for heat pump systems.
Musty smells from mini splits rank among the top complaints from homeowners. Mold and bacteria growth causes these odors and can affect indoor air quality. Prevention is much easier than remediation once mold takes hold.
Mini splits create condensation during normal operation, providing moisture mold needs. The dark interior of wall units creates perfect growing conditions. Blower wheels and drain pans are particularly susceptible to bio-slime buildup.
High humidity climates see more mold issues than dry regions. Systems that short-cycle (turn on and off frequently) do not run long enough to dry out condensation. Poor airflow from dirty filters also increases humidity inside the unit.
Mix a bleach solution using 1 part bleach to 9 parts water for drain pan treatment. Pour this solution down the condensate drain line every 3-6 months to kill existing mold. Never use this solution on filters or inside the main cabinet.
Commercial fungistat and bacteriostat treatments are available as tablets or pourable solutions. These products inhibit microbial growth without damaging system components. Apply them during filter cleaning for easy integration into your routine.
Run your fan-only mode for 30 minutes after cooling cycles to dry residual moisture. This simple habit significantly reduces mold growth. Some newer mini splits include automatic dry modes that do this for you.
Even well-maintained mini splits occasionally experience issues. Knowing how to identify and address common problems saves service call fees. This section covers the most frequent issues homeowners encounter.
Water dripping from the indoor unit usually indicates a clogged condensate drain. Try clearing the line with a wet/dry vacuum from the outdoor end. Check the drain pan for cracks or improper leveling that prevents proper drainage.
Ice formation on the evaporator coil suggests airflow problems or low refrigerant. Check filters first since dirty filters are the most common cause. If filters are clean, call a professional for refrigerant testing.
Modern mini splits display error codes when problems occur. Common codes include E1 (communication errors), P1 (intake sensor problems), and various refrigerant-related warnings. Consult your owner’s manual for specific code meanings.
Reset your system by turning off power at the breaker for 5 minutes before restarting. This clears temporary glitches that may not indicate real problems. Persistent error codes require professional diagnosis.
Reduced cooling often traces back to dirty filters or coils. Clean both thoroughly before assuming bigger problems exist. Check that all outdoor unit panels are properly closed for correct airflow.
Strange noises like rattling or grinding indicate mechanical issues. Clicking sounds during startup and shutdown are usually normal expansion and contraction. Continuous unusual sounds warrant professional inspection.
Yes, ductless air conditioners absolutely need regular maintenance to operate efficiently. Without proper care, they lose cooling capacity, develop mold issues, and consume more electricity. Well-maintained ductless systems last 15-20 years while neglected units may fail in under 10 years.
Mini split maintenance includes monthly filter cleaning, seasonal coil inspection, and annual professional service. Homeowners should wipe exterior surfaces, clear outdoor unit debris, and check drain lines regularly. Professional technicians handle refrigerant checks, electrical testing, and deep cleaning of internal components like blower wheels.
Professional mini split cleaning costs between $150 and $500 depending on the number of indoor units and service depth. Basic maintenance visits range from $100-$200 per head while deep cleaning including blower wheel removal costs $300-$500. Multi-zone systems with four or more indoor units typically cost $600+ for comprehensive service.
Mini splits should be professionally cleaned at least once annually, especially for the blower wheel and internal coils that homeowners cannot safely access. DIY filter cleaning should happen monthly, but deep cleaning requires specialized tools and knowledge. Systems in humid climates or homes with pets may need professional cleaning twice yearly.
The average lifespan of a mini split is 15-20 years with proper maintenance. Neglected systems often fail in 10-12 years due to compressor strain and coil damage. Regular filter cleaning and annual professional service significantly extend system longevity.
Common mini split problems include musty smells from mold growth, water leaks from clogged drains, reduced efficiency from dirty filters, and refrigerant leaks. Error codes may indicate sensor failures, communication issues between units, or compressor problems. Most issues are preventable with regular maintenance.
Mini splits are not hard to maintain for basic tasks like filter cleaning, which takes just 5 minutes monthly. However, deep cleaning of coils and blower wheels requires professional expertise. The maintenance itself is straightforward, but accessing internal components can be challenging depending on your specific unit design.
You should clean mini split filters every 2-4 weeks during heavy use periods. Homes with pets or high dust may need weekly cleaning. During shoulder seasons with minimal use, monthly cleaning suffices. Clean filters are the single most important factor in system longevity and efficiency.
This ductless AC maintenance guide gives you everything needed to keep your mini split running efficiently for years to come. Remember that filter cleaning is your most important monthly task, never to be skipped. Professional service once yearly handles the technical work you cannot safely do yourself.
Start your maintenance routine today by cleaning your filters and inspecting your outdoor unit. Schedule professional service before peak summer or winter demand hits. Systems like ductless mini split systems and 4-zone mini split systems reward consistent care with decades of reliable comfort.
The small time investment in regular maintenance pays off through lower energy bills, fewer repairs, and a longer-lasting system. Your mini split works hard for you. Give it the care it deserves and enjoy comfortable indoor air for 15 to 20 years.