Physical Address
304 North Cardinal St.
Dorchester Center, MA 02124
Physical Address
304 North Cardinal St.
Dorchester Center, MA 02124

Learn to clean your window AC unit safely without removing it. Step-by-step guide with tools list and mold removal tips.
Is your window air conditioner blowing warm air, emitting musty odors, or running louder than usual? These are clear signs your AC unit needs cleaning. Professional cleaning services charge $150-300 for a single visit, but you can achieve the same results yourself without ever removing the unit from your window.
Yes, you can effectively clean a window air conditioner without removing it by following proper safety precautions and using the right tools to access and clean internal components like filters, coils, and drip trays while the unit remains installed.
I’ve cleaned dozens of window AC units over the years, and I can tell you that regular maintenance not only improves cooling efficiency by 5-15% but also extends your unit’s lifespan by 3-5 years. In this comprehensive guide, I’ll walk you through every step of the cleaning process, from safety preparations to tackling stubborn mold growth.
For those considering upgrading their current unit, check out our guide to the best window air conditioners for large rooms to compare newer models with enhanced maintenance features.
Before you begin cleaning your window AC unit, safety must be your top priority. Electrical appliances and water don’t mix, so following these precautions is non-negotiable. I once saw someone skip the power disconnect step and ended up with a $300 repair bill plus a scary electrical shock.
⚠️ Critical Safety Warning: Never spray water directly into your window AC unit’s electrical components. Water can cause permanent damage to the motor and create serious electrical hazards. Always follow the precise cleaning methods outlined in this guide.
First, turn off your AC unit at the control panel and unplug it from the wall outlet. If you can’t access the plug, turn off the circuit breaker that powers the AC unit. Use a voltage tester to confirm no power is flowing to the unit before proceeding.
Next, gather your safety equipment. Wear protective gloves to prevent cuts from sharp metal edges, safety goggles to protect your eyes from debris and cleaning solutions, and a N95 face mask if you suspect mold growth. Ensure the room is well-ventilated by opening windows and running a fan to circulate fresh air.
Finally, protect the area around your AC unit. Place towels on the windowsill and floor below to catch any drips or debris. Consider covering nearby furniture with plastic sheets to prevent damage from cleaning solutions.
Having the right tools makes cleaning your window AC unit significantly easier and more effective. You don’t need expensive specialized equipment – most of these items are probably already in your home. I’ve learned that using proper tools prevents damage to delicate components and saves time in the long run.
Total cost for all supplies: approximately $60-80 if buying everything new. Many of these items can be substituted with household alternatives to save money. For example, an old toothbrush works well for small areas, and distilled water can replace bottled water for mixing solutions.
Follow these eight carefully planned steps to clean your window air conditioner thoroughly without removing it. I’ve broken down each step with specific techniques and time estimates based on my experience cleaning multiple units. The entire process typically takes 60-90 minutes for a standard window AC unit.
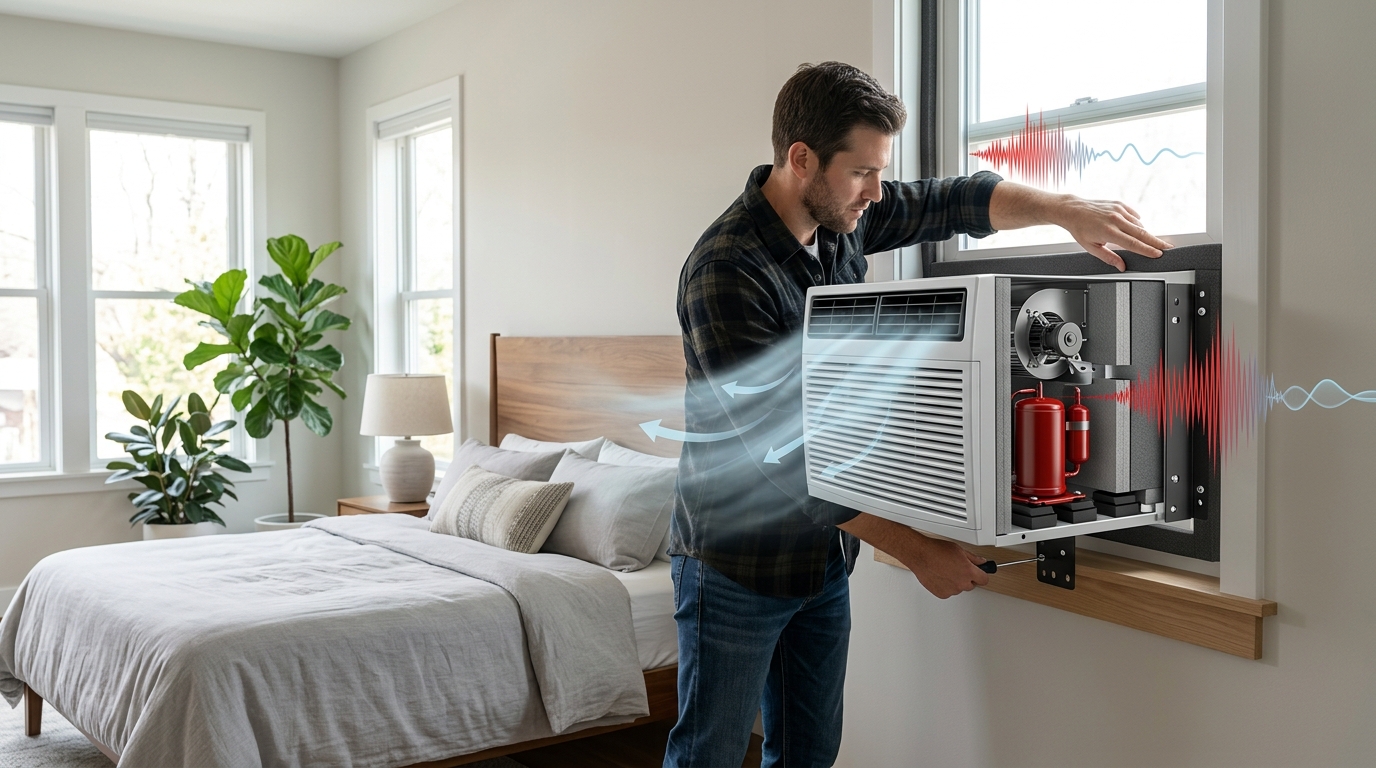
After ensuring all power is disconnected, locate the screws or clips holding the front cover in place. Most units have 2-4 screws along the bottom edge or release tabs on the sides. Carefully remove these fasteners and gently pull the cover forward. Don’t force it – some covers have small wiring harnesses connected to control panels that need to be disconnected first. Set the cover aside on a towel for cleaning later.
The air filter is typically located behind the front cover and slides out easily. Most window AC units have reusable filters that can be cleaned rather than replaced. Vacuum the filter first to remove loose dust, then wash it with warm, soapy water. Rinse thoroughly and let it air dry completely for at least 30 minutes before reinstalling. If your filter is damaged or excessively dirty, replace it with a new one – this simple step alone can improve your AC’s efficiency by 5-10%.
The front grill accumulates dust and debris that restricts airflow. Use your vacuum with a brush attachment to remove loose dirt, then wipe with a damp microfiber cloth. For stubborn grime, use a solution of warm water and a few drops of dish soap. Avoid spraying water directly onto any electrical components. Pay special attention to the louvers (adjustable vents) as dust buildup here can significantly reduce airflow.
The evaporator coils are located behind the filter and are responsible for cooling the air. These delicate aluminum fins can bend easily, so use a soft brush or your vacuum’s brush attachment gently. For deeper cleaning, spray a commercial coil cleaner (available at home improvement stores) following the manufacturer’s instructions. These foaming cleaners penetrate deep into the coils and dissolve accumulated grime without requiring rinsing. If using a DIY solution, mix equal parts white vinegar and water in a spray bottle, apply lightly, and let sit for 10 minutes before gently wiping with a soft cloth.
Bent fins restrict airflow and reduce cooling efficiency. Use a fin comb (available at HVAC supply stores for $8-12) to gently straighten any bent aluminum fins. Work slowly and carefully to avoid breaking the fins. If you don’t have a fin comb, a butter knife or credit card can work in a pinch, but be extra gentle as these tools can damage the delicate fins.
The condenser coils are located on the exterior portion of your AC unit. These coils release heat outside and can accumulate dirt and debris. Use your vacuum with a brush attachment to remove loose debris. For exterior cleaning, you can carefully spray water from a garden hose at a downward angle to rinse away dirt, but never spray water into the interior components or electrical connections. If your unit has an exterior coil guard, remove it following the manufacturer’s instructions for better access.
The drip pan collects condensation and can become a breeding ground for mold and bacteria. Locate the drip pan at the bottom of the unit and carefully remove any standing water with a sponge or turkey baster. Clean the pan with warm, soapy water or a solution of 1 part white vinegar to 1 part water. Check the drain hole for clogs and clear it with a pipe cleaner or small brush. A clogged drain can cause water to back up and leak into your home.
The fan blades accumulate dust that can affect performance and create odors. Wipe them carefully with a damp cloth, taking care not to bend them. Once all components are clean and completely dry, reassemble your unit in reverse order. Start with the fan cover, then install the cleaned filter, and finally attach the front cover. Ensure all screws and clips are securely fastened before restoring power.
Mold growth in window AC units is a common problem, especially in humid climates. I’ve seen units with mold so severe they posed serious health risks to families. If you notice a musty odor, visible black or green spots, or experience increased allergy symptoms when your AC runs, you likely have mold that needs special attention.
For moderate mold growth, hydrogen peroxide is your best option. Use a 3% solution in a spray bottle, apply generously to affected areas, and let it sit for 10-15 minutes before wiping clean. Hydrogen peroxide kills mold spores without harsh fumes or damage to AC components.
⚠️ Mold Safety Alert: If you see extensive mold growth (covering more than 10 square feet), black mold, or have immune system issues, consider hiring a professional. Disturbing large mold colonies can release spores into your home.
For stubborn mold, create a solution of 1 cup white vinegar mixed with 1 gallon of water. Vinegar is effective against most mold species and safe for AC components. Apply with a spray bottle, let it work for 30 minutes, then scrub gently with a soft brush and rinse with a clean cloth.
Never use undiluted bleach on AC coils as it can damage the aluminum and copper components. If you choose to use bleach, dilute it heavily (1 tablespoon bleach per gallon of water) and rinse thoroughly after application.
| Cleaning Solution | Best For | Pros | Cons |
|---|---|---|---|
| 3% Hydrogen Peroxide | Light to moderate mold | No fumes, kills spores, safe for components | Less effective on heavy growth |
| White Vinegar Solution | General mold prevention | Inexpensive, non-toxic, prevents regrowth | Strong smell, requires dwell time |
| Commercial Coil Cleaner | Heavy grime and mold | Professional strength, no-rinse options | More expensive, chemical fumes |
Regular maintenance prevents the buildup of dirt and mold, keeping your window AC unit running efficiently for years. Based on my experience maintaining dozens of units, following this schedule will save you money on energy bills and extend your AC’s lifespan significantly.
✅ Pro Tip: Set calendar reminders for AC maintenance. I clean my filter monthly during cooling season and perform a full cleaning every spring before first use. This simple habit has kept my units running efficiently for over 8 years.
Monthly During Cooling Season: Clean or vacuum the air filter. This 5-minute task prevents dust buildup and maintains airflow. A clean filter can reduce your energy consumption by 5-15%.
Every 3 Months: Inspect coils for dust accumulation and vacuum if needed. Check the drip pan for standing water and clean the drain hole. This prevents water damage and mold growth.
Annually (Spring): Perform a complete cleaning as outlined in this guide. This deep cleaning removes accumulated dirt and prepares your unit for heavy summer use. Also check the window seal and insulation around the unit to prevent air leaks.
Seasonally (Fall): Before storing your AC for winter, clean it thoroughly and cover with an AC cover. This protects it from winter weather and prevents debris accumulation. For units that stay in place year-round, clean the exterior coils and inspect the insulation around the window frame.
Regular maintenance not only improves performance but also helps identify problems early. I once noticed a small water leak during monthly maintenance that, if left unchecked, would have caused $500 in water damage to my window frame.
For those who value quiet operation, regular cleaning is essential. Dirty units work harder and create more noise. If you’re sensitive to sound, you might want to check out our recommendations for quietest window air conditioners that maintain low noise levels even with minimal maintenance.
Even with regular maintenance, you might encounter issues with your window AC unit. I’ve compiled the most common problems I’ve encountered over the years and their solutions. Sometimes, the issue is simple enough to fix yourself, while other times it requires professional help.
| Problem | Causes | Solution | When to Call Professional |
|---|---|---|---|
| AC not cooling | Dirty filter, blocked coils, low refrigerant | Clean filter and coils, check for obstructions | If cooling doesn’t improve after cleaning |
| Water leaking inside | Clogged drain, tilted unit, excessive condensation | Clean drain hole, ensure unit tilts slightly outward | If leak persists after drain cleaning |
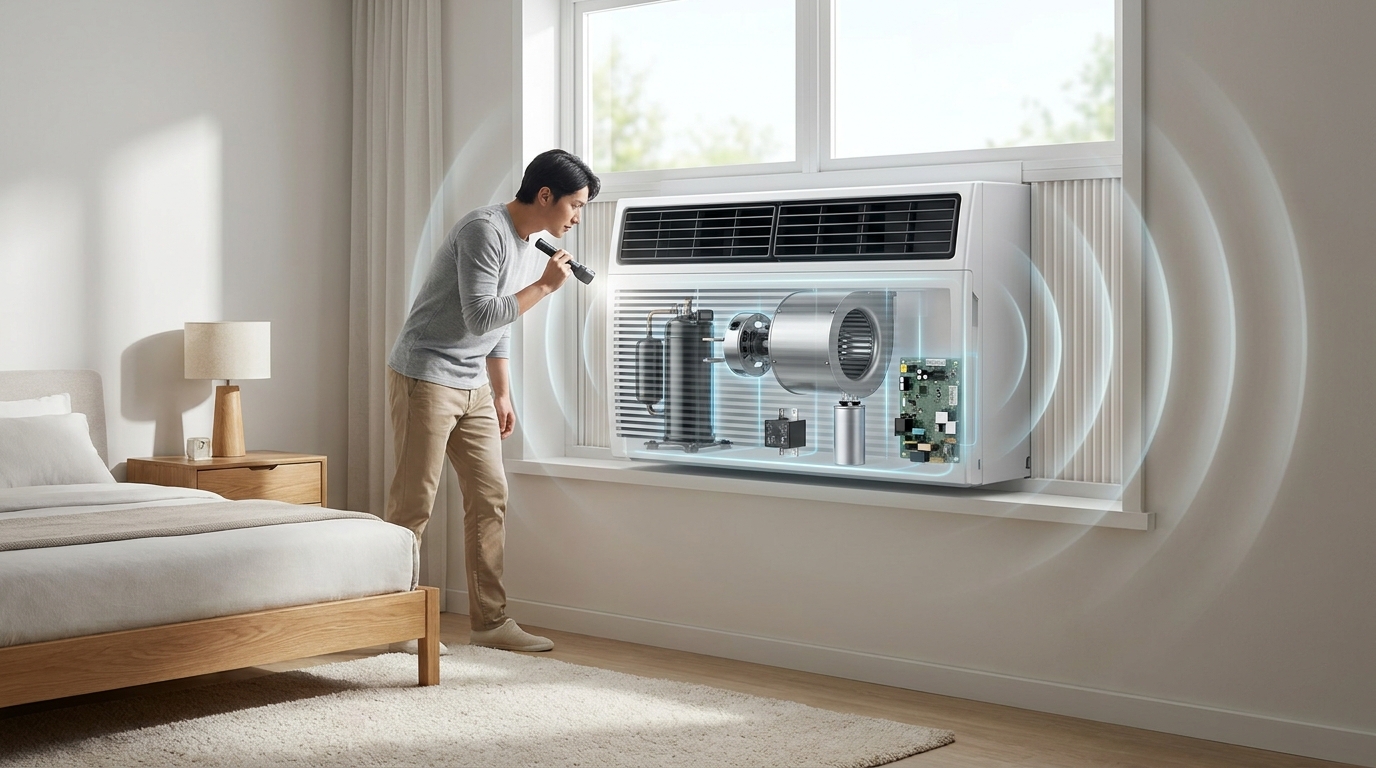
| Unusual noises | Loose parts, debris in fan, failing motor | Tighten screws, remove visible debris | If grinding or scraping noises continue |
| Foul odors | Mold growth, stagnant water, dead pests | Deep clean with mold-killing solution | If odors persist after thorough cleaning |
| Unit won’t turn on | Tripped breaker, faulty thermostat, failed component | Check breaker, ensure proper power supply | Immediately – this indicates electrical issues |
⚠️ Important: If you notice ice forming on your AC unit, turn it off immediately and let it thaw completely before attempting any cleaning. Ice formation indicates serious issues that require professional attention.
Remember that window AC units typically last 8-10 years with proper maintenance. If your unit is approaching this age and requires frequent repairs, it might be more cost-effective to replace it rather than continue investing in repairs.
Yes, you can effectively clean a window air conditioner without removing it. The process involves accessing interior components through removable panels, cleaning the filter, coils, and drip pan while the unit remains installed. This method is ideal for apartments, upper-floor installations, or when removal isn’t practical.
You can carefully spray water on the exterior condenser coils, but never spray water into the interior components or electrical parts. Water can cause permanent damage to the motor and create electrical hazards. Always follow proper cleaning methods that protect electrical components from moisture.
Clean AC coils by first vacuuming loose debris with a brush attachment, then applying a commercial coil cleaner or a solution of equal parts white vinegar and water. Let the solution sit for 10-15 minutes to dissolve grime, then gently wipe with a soft cloth. Use a fin comb to straighten any bent aluminum fins, as this improves airflow and efficiency.
Remove mold by spraying affected areas with 3% hydrogen peroxide or a white vinegar solution (1:1 ratio with water). Let the solution sit for 15-30 minutes to kill mold spores, then scrub gently with a soft brush and wipe clean. Ensure the area is well-ventilated and wear protective gear during mold removal to avoid inhaling spores.
Clean your window AC filter monthly during cooling season, perform light maintenance every 3 months, and do a complete deep cleaning annually in spring. If you live in a dusty area or have pets, increase cleaning frequency. Regular maintenance improves efficiency by 5-15% and prevents costly breakdowns.
The best way combines regular filter cleaning with annual deep cleaning of coils and drip pans. Use appropriate cleaning solutions for specific issues – vinegar for general cleaning, hydrogen peroxide for mold, and commercial coil cleaners for heavy grime. Always prioritize safety by disconnecting power and protecting electrical components from moisture.
You can carefully hose off the exterior condenser coils, but never spray water into the interior components. Use a gentle spray at a downward angle to avoid forcing water into electrical parts. Always disconnect power first and allow the unit to dry completely before restoring electricity.
Clean interior mold by first removing visible growth with a damp cloth, then applying hydrogen peroxide or vinegar solution to affected areas. Use a soft brush for stubborn spots, clean the drip pan thoroughly, and replace the filter if moldy. Ensure all components are completely dry before reassembling to prevent regrowth.
Cleaning your window air conditioner without removing it is a manageable task that saves money and improves performance. Following this comprehensive guide will restore your unit’s cooling efficiency, eliminate musty odors, and create a healthier indoor environment. Regular maintenance not only prevents problems but also helps you identify issues early before they become expensive repairs.
From my experience maintaining window AC units over the past decade, I can confidently say that proper cleaning and maintenance extends unit lifespan by 3-5 years and reduces energy costs by 5-15%. The initial investment in tools and supplies pays for itself within the first year through energy savings alone.
However, if your unit is over 10 years old, requires frequent repairs, or no longer cools effectively even after cleaning, it might be time to consider replacement. Modern units are significantly more energy-efficient and often include features that make maintenance easier. Check our guide to the top-rated air conditioners to compare energy efficiency ratings and maintenance requirements.
Remember that safety always comes first – never compromise on electrical safety precautions, and don’t hesitate to call a professional if you encounter problems beyond your comfort level. With proper care and maintenance, your window AC unit will provide reliable cooling for years to come.